
Today we’re making a red light green light game. Kids of all ages will have fun with this red light green light game. It’s a fun twist on the traditional game that has been beloved by children for decades. This adds fun new rules and twists to the classic game. Play this red light and green light game at home or in the classroom.
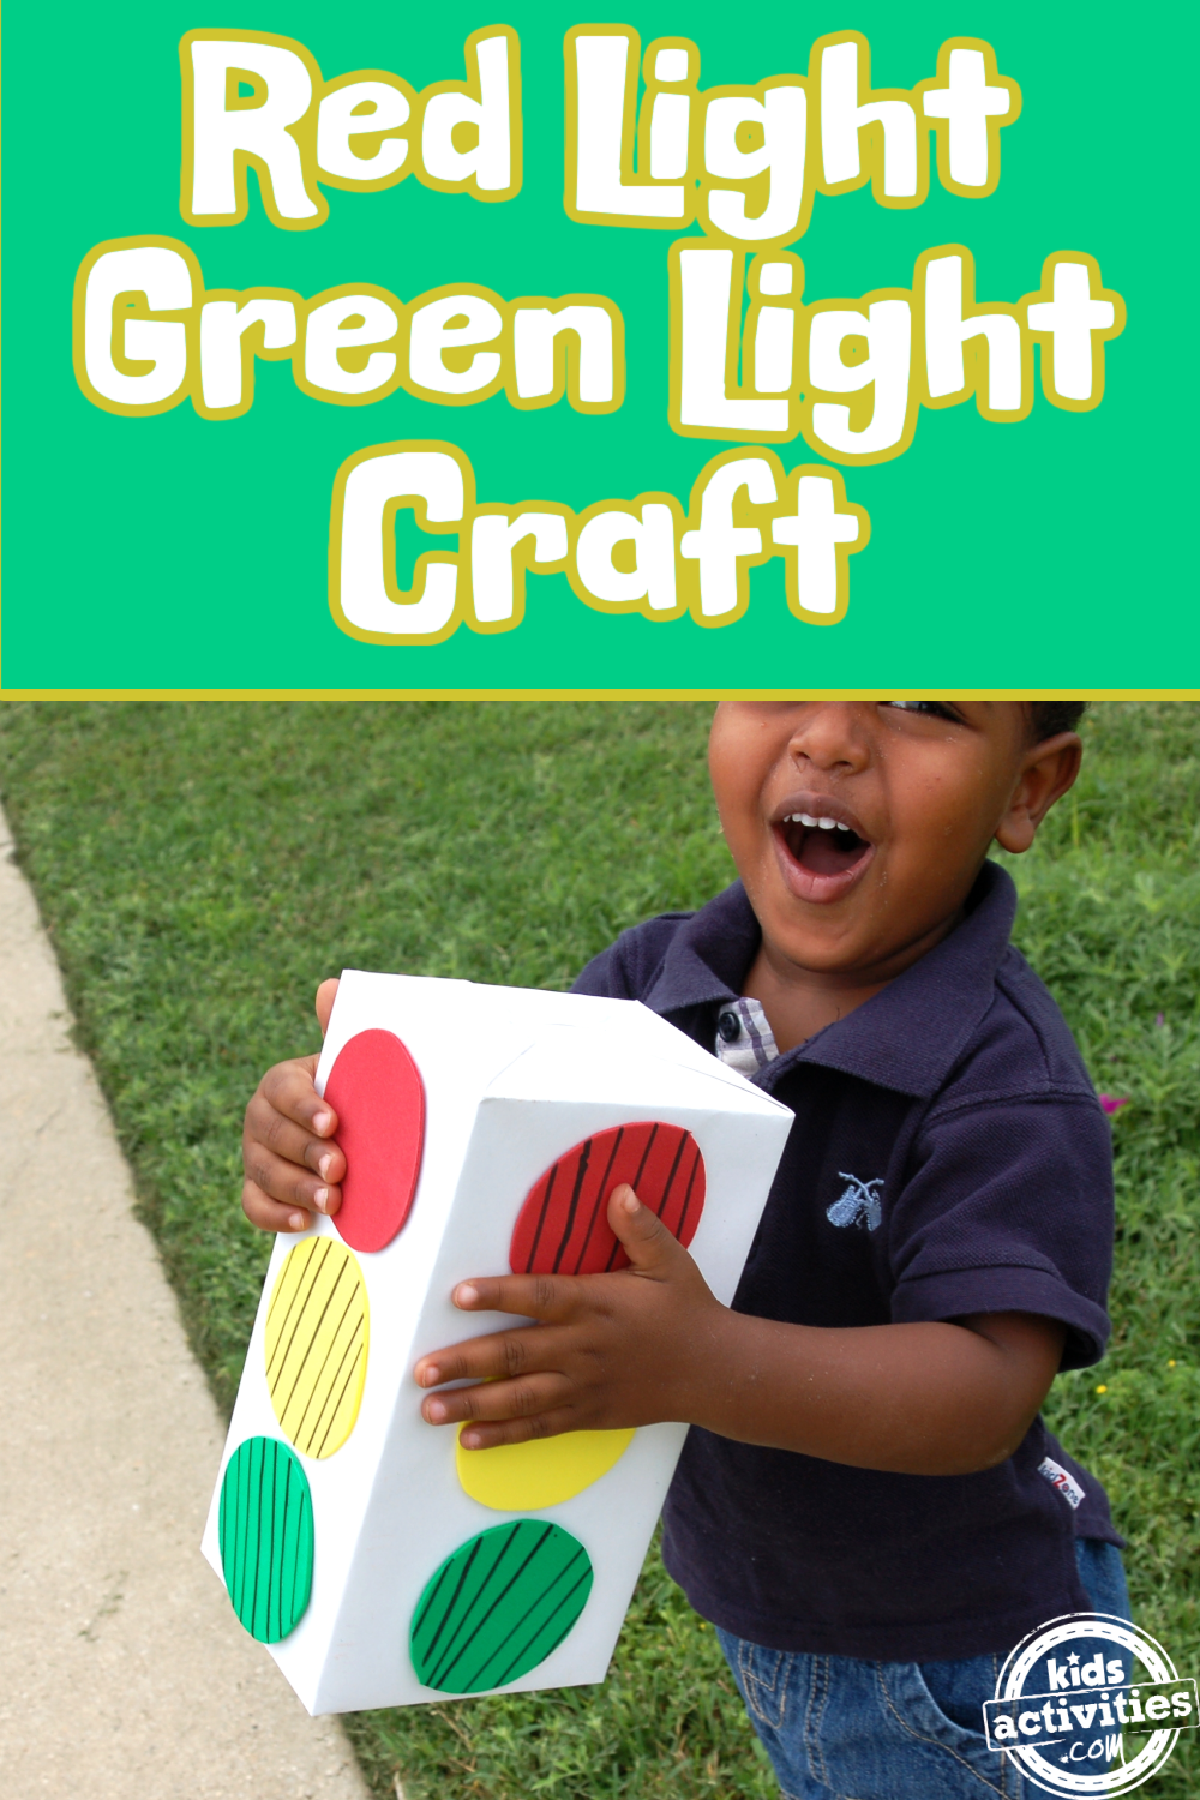
Red Light Green Light
If you’re you’re not familiar with this game where someone calls out a light and children either run or freeze. This craft allows kids to make an actual light for the game and adds directions, a new speed, and it’s a unique way to get kids up and moving.
Kids will be able to explore colors, practice fine motor skills, and get some exercise with this fun craft and game. So without further ado, let’s make this red light and green light craft.
This post contains affiliate links.
Related: We have 15 great outdoor games that the whole family will love.
Supplies Needed To Make This Red Light Green Light Game
How To Make This Red Light Green Light Game
Step 1
Cover the tissue box with paper. We used white.
Step 2
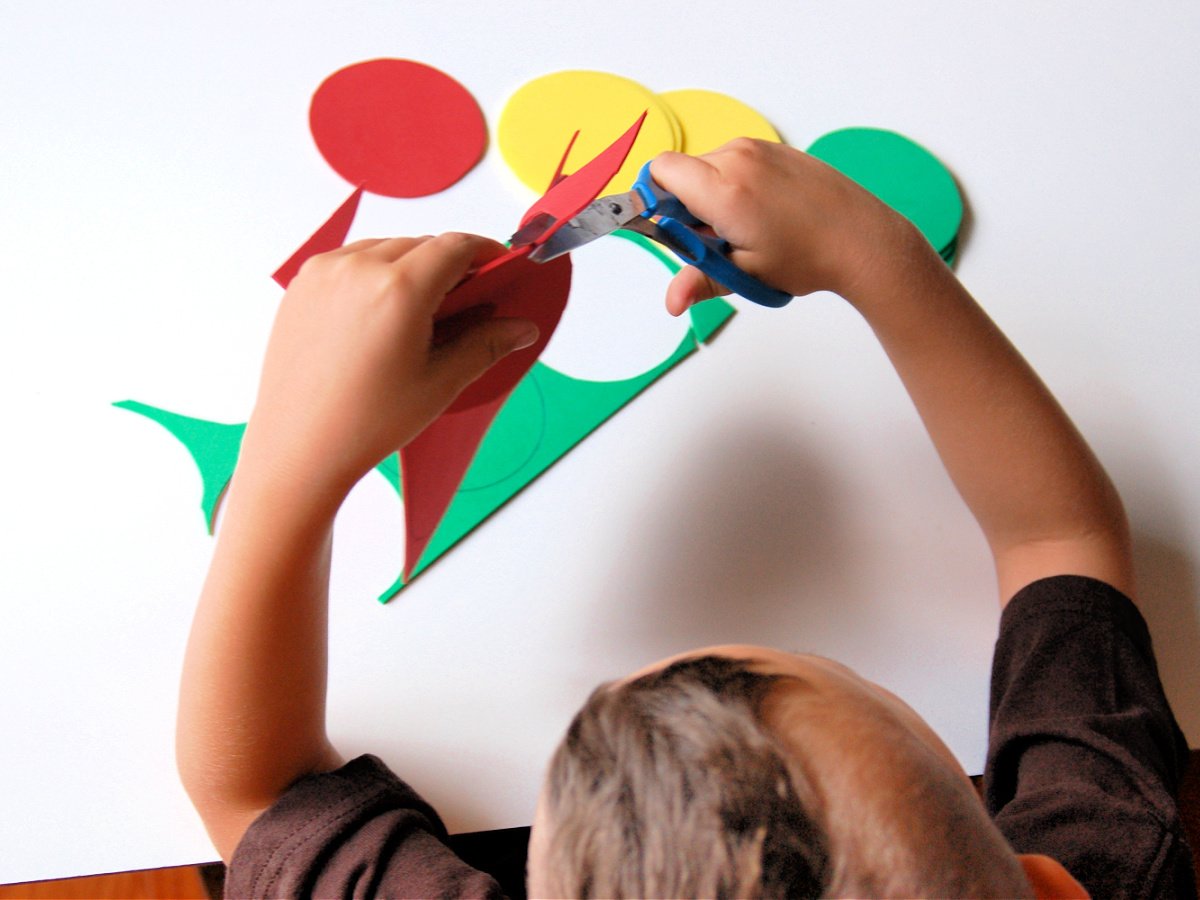
Using a small lid, trace circles onto the green, yellow, and red construction paper and then cut out the circles.
Step 3
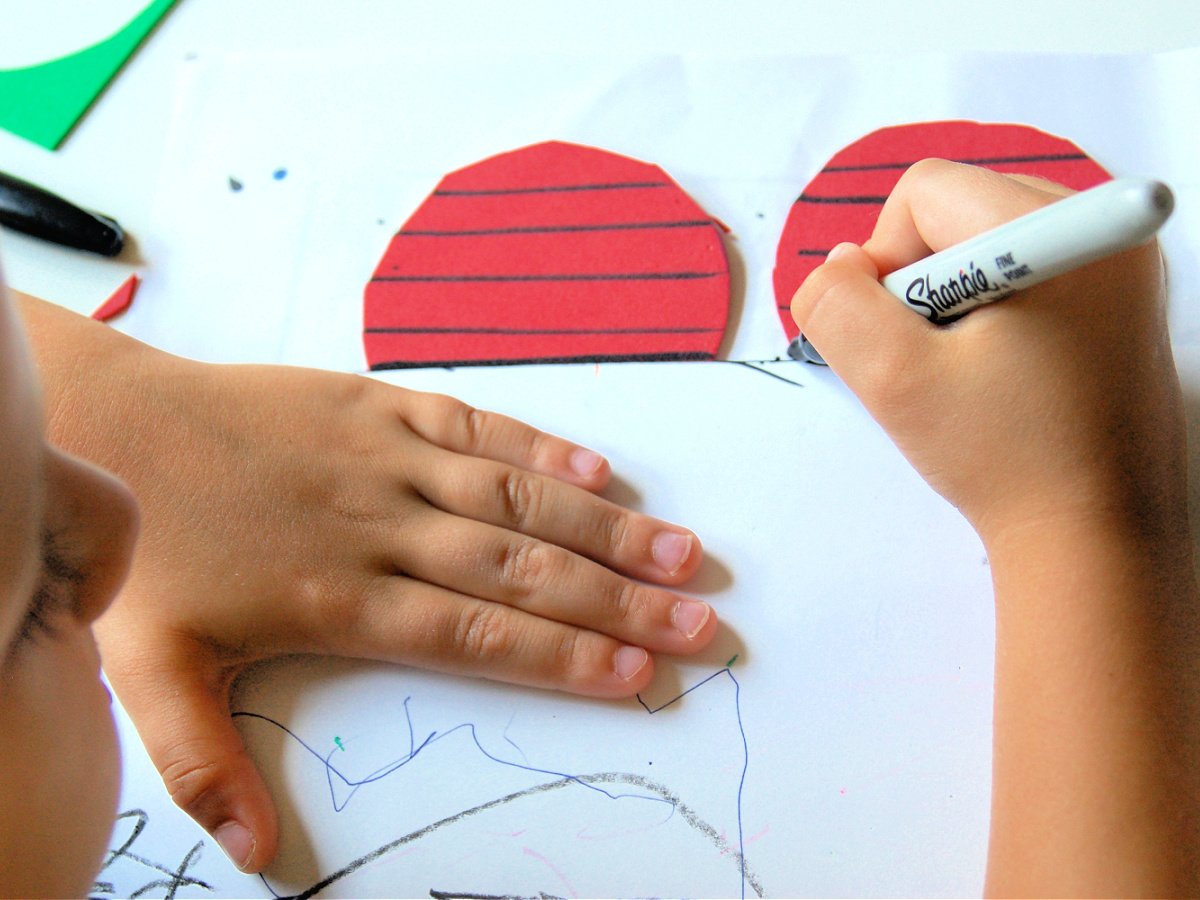
Draw lines over 2 of the lights on each side. Leave 1 light without the lines.
Step 4
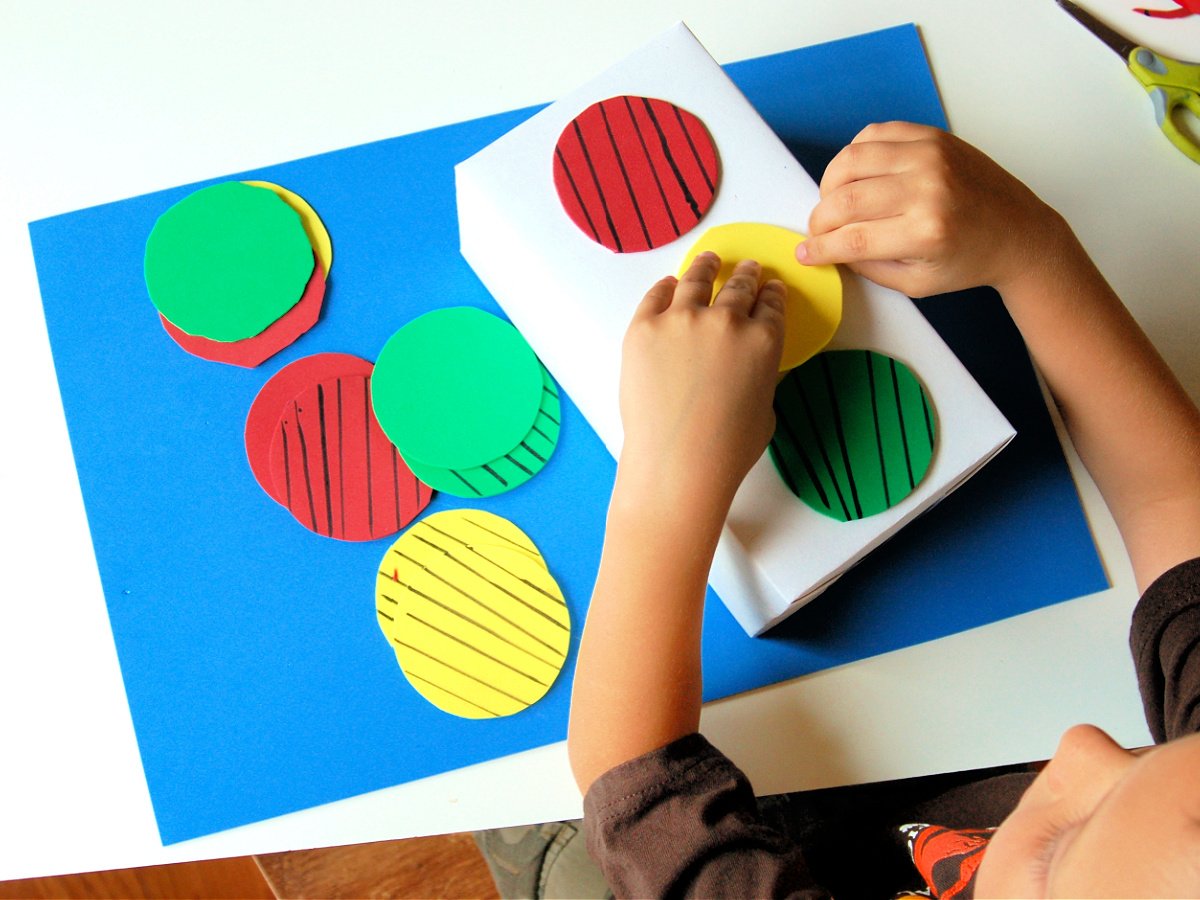
Glue the lights to the box. Do this for 3 sides. That way you have a red light, green light, and yellow light without the black lines.
Step 5
On the 4th side write “one-way.”
How To Play This Red Light Green Light Game
- One child will be rolling the light.
- The rest of the kids will be lined up next to each other across the yard or room of your house.
- When the light is rolled the other kids will do what the light says.
- Red light means freeze.
- Orange light means walk slowly.
- Green light means run.
- One way means turn around.
- The race changes as fast as the roller can turn the light.
- The person who makes it to the light first wins.
How To Modify This Game For Younger Children
Little kids may not understand the directions as well. And so give them some more room to run around and move and help direct them as the game unfolds.
How To Modify This Game For Older Children
You can make this game a little more structured by making paths for older kids to “drive” on. You can add rules too like:
- They can only pass on the left.
- They have to make a complete stop before turning.
- Use other simple basic road rules.
You could also add some old rules. Like having the person rolling turning and calling out the color, counting to 5, and then turning and everyone having to freeze or take 5 steps back.
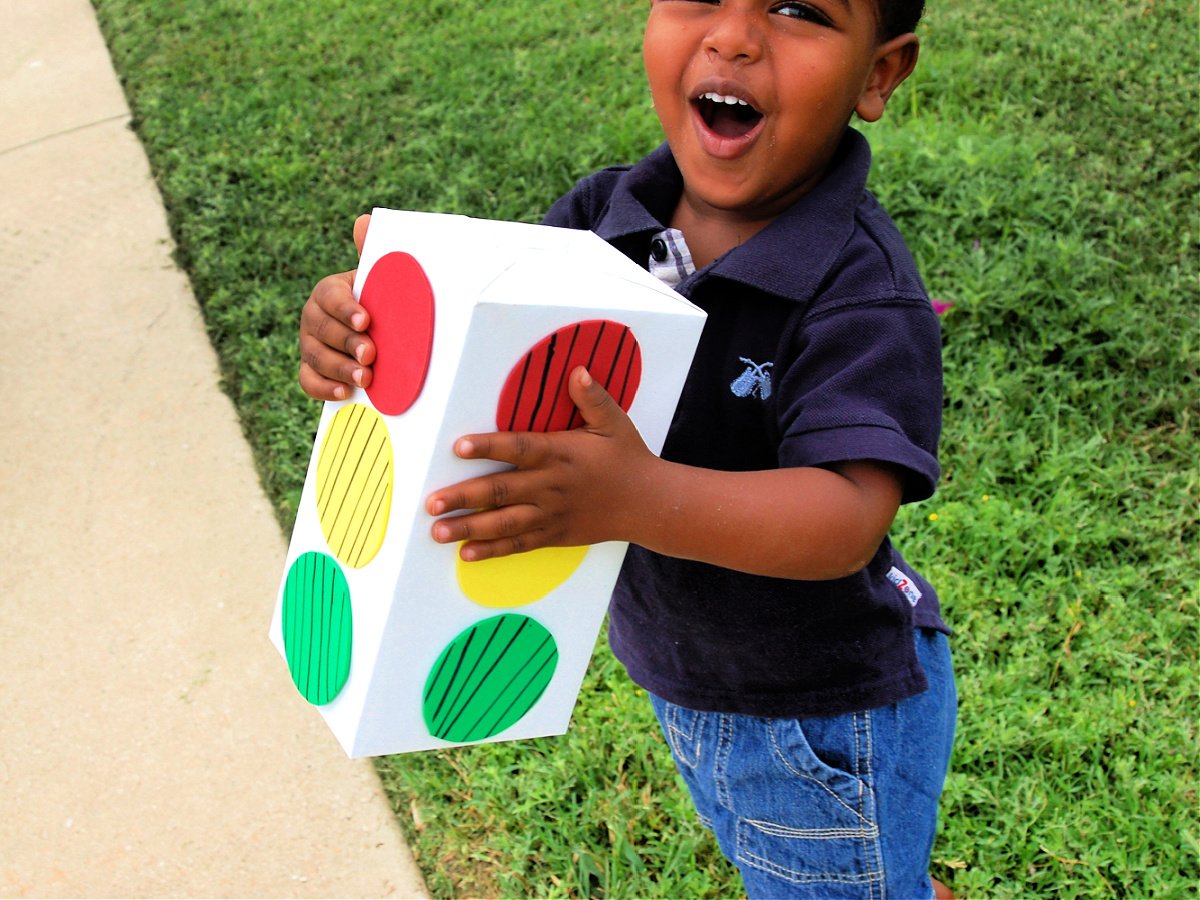
Our Experience With This Red Light Green Light Game
We had so much fun. This was a fun twist on the regular game where someone says red light or green light. Rather, it added 2 more rules to the game which made it more fun.
Plus, it’s a great way to practice listening skills and following simple instructions, but in a fun and contained way. It is also a fun way to teach kids about basic stress rules or how to be safe in parking lots, or when crossing roads.
Either way, we had a blast and ran ourselves tired. I hope your family enjoys this red light and green light game as much as mine did.
Materials
- Tissue Box
- Colorful Construction Paper
- Markers
- Tape or Glue
Instructions
- Cover the tissue box with paper. We used white.
- Using a small lid, trace circles onto the green, yellow, and red construction paper and then cut out the circles.
- Draw lines over 2 of the lights on each side. Leave 1 light without the lines.
- Glue the lights to the box. Do this for 3 sides. That way you have a red light, green light, and yellow light without the black lines.
- On the 4th side write “one-way.”
More Fun Games From Kids Activities Blog
Trending Products